 中文简体
中文简体
 English
 Español

ADD: No.689 Jingxing 1st road,Pinghu Jiaxing,Zhejiang Province,China
Installing and connecting an air pneumatic cylinder kit to a machine or device may be achieved by means of following a series of steps. These steps are outlined below:
Step 1: Gather all the essential substances
Before starting the set up manner, make sure which you have all the required substances and tools available. These substances can also encompass the air pneumatic cylinder kit, fittings, tubing, stress gauges, valves, and every other essential components.
Step 2: Understand the gadget requirements
It is crucial to understand the gadget requirements and specifications earlier than putting in the pneumatic cylinder kit. This consists of understanding the stress and float necessities, in addition to the stroke and pressure requirements of the system. Having this facts will help you select an appropriate size and sort of cylinder for your utility.
Step 3: Prepare the device
Before installing the pneumatic cylinder kit, it is important to prepare the system. This entails shutting down the machine or gadget, relieving any present pressure, and making sure that every one required protection measures are in place.
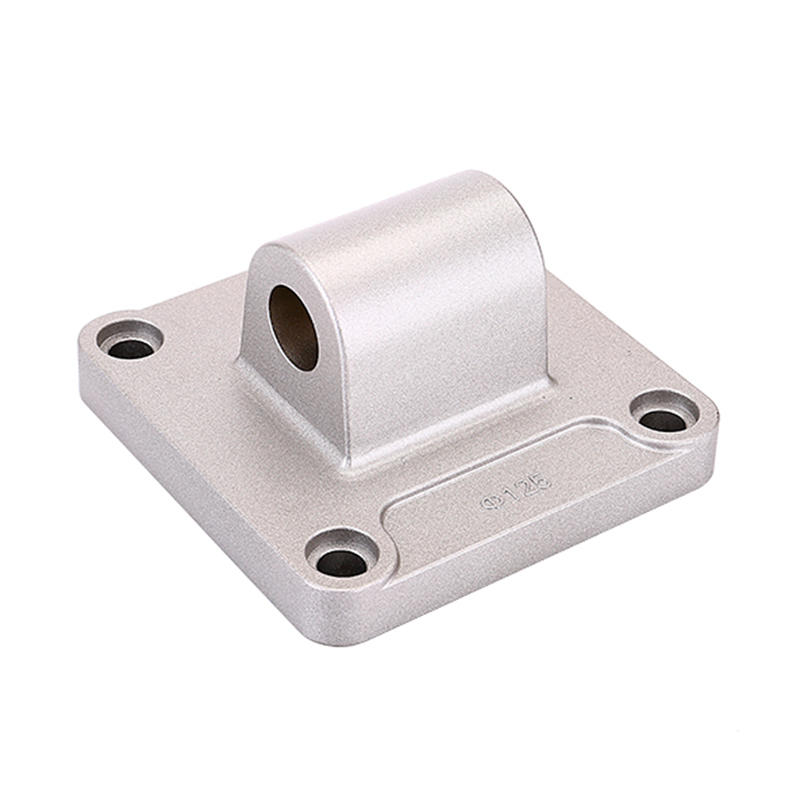
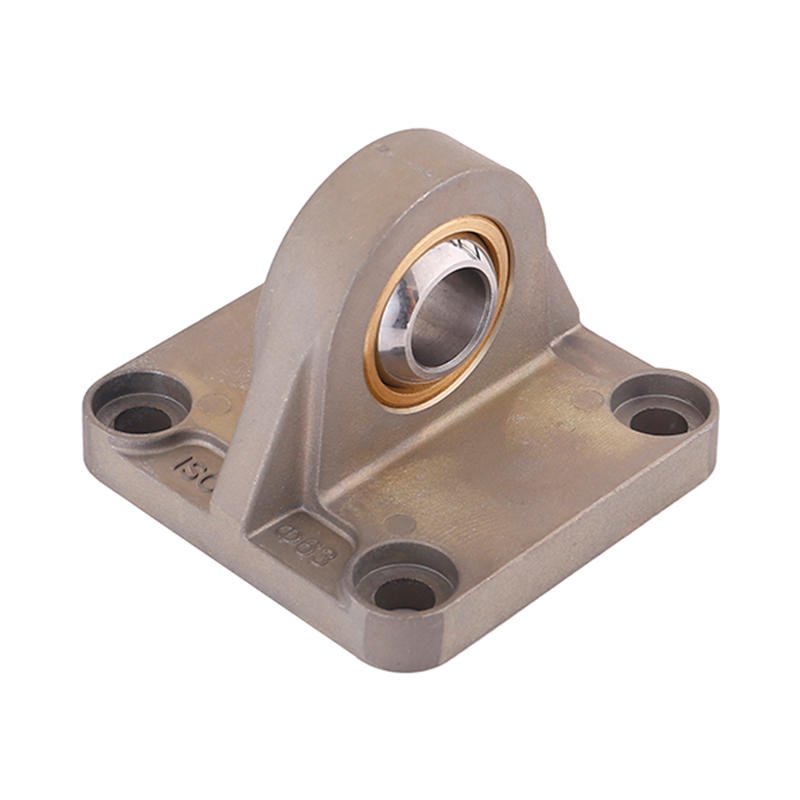
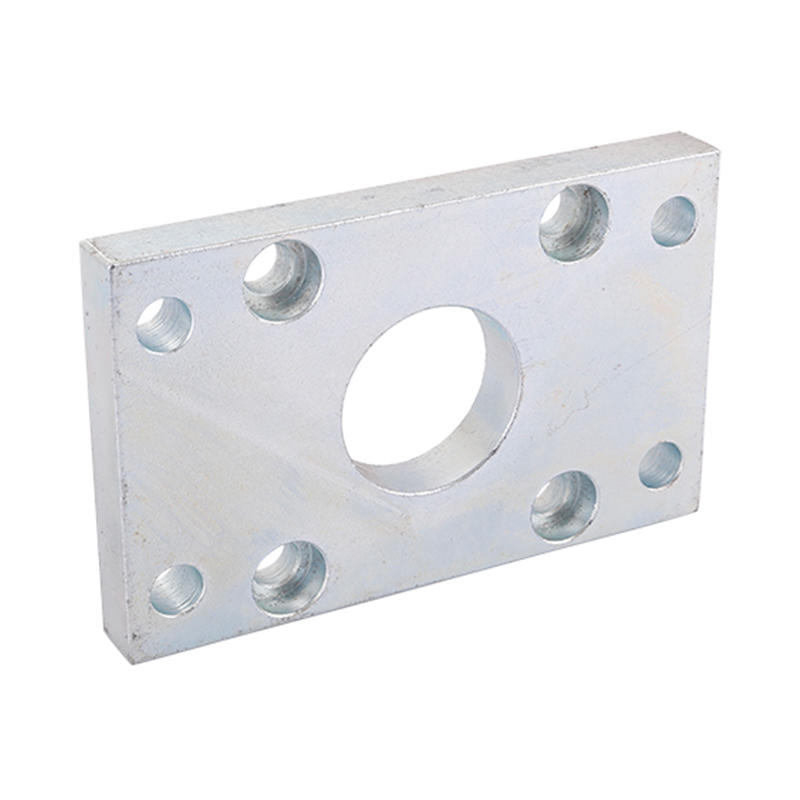
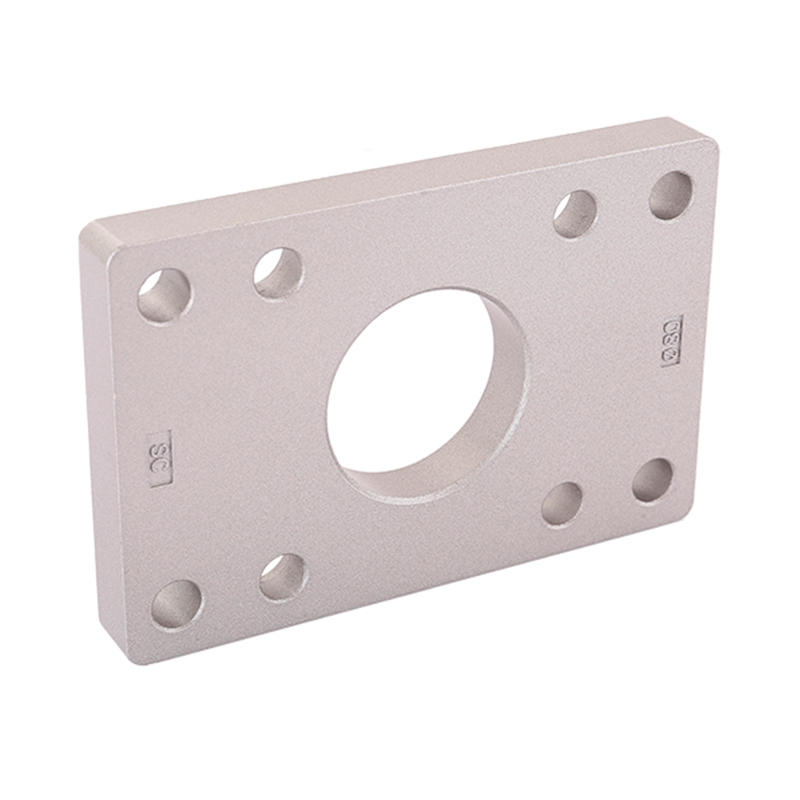
Step four: Mount the cylinder
Mounting the pneumatic cylinder involves attaching it securely to the system or system. Most cylinders come with mounting brackets or flanges that may be connected to the appropriate area. Ensure that the cylinder is established securely and aligned well.
Step 5: Connect the fittings and tubing
Connect the essential fittings and tubing to the pneumatic cylinder. The fittings will commonly encompass ports for air supply, exhaust, and every other required connections. Ensure that every one the connections are tight and steady to prevent any air leakage.
Step 6: Connect the air supply
Connect the air deliver to the pneumatic cylinder. This may be completed the usage of pneumatic tubing and fittings. Make sure to observe the advocated stress and float specifications for the device. Use Teflon tape or thread sealant to make certain a right seal.
Step 7: Install valves and stress gauges
If required, installation valves and pressure gauges within the system. Valves may be used to govern the airflow to the pneumatic cylinder, at the same time as pressure gauges will assist screen and alter the stress in the device.
Step 8: Test the machine
Once all of the connections and components are mounted, it is important to test the system. Open the air deliver and test for any air leaks. Operate the cylinder manually or thru the system's controls to ensure that it is functioning nicely. Monitor the stress and modify as vital.
Step nine: Make changes and first-class-track
After testing the gadget, make any necessary changes or quality-tuning. This may involve adjusting the air pressure, stroke length, or force exerted by using the pneumatic cylinder. Follow the producer's suggestions and hints for correct operation.
Step 10: Ensure safety measures
Lastly, ensure that all required protection measures are in vicinity. This may additionally encompass the use of guards, lockout/tagout approaches, and offering proper ventilation inside the paintings location.
In conclusion, putting in and connecting an air pneumatic cylinder kit to a device or gadget entails a chain of steps. It is essential to gather all of the necessary substances, recognize the system requirements, and take essential safety precautions. By following every step carefully, you could efficaciously install and connect the pneumatic cylinder to the favored machine or machine.